All You Need To Know About Propagating Peperomia
Do you want to start propagating Peperomia but have no idea how to start?
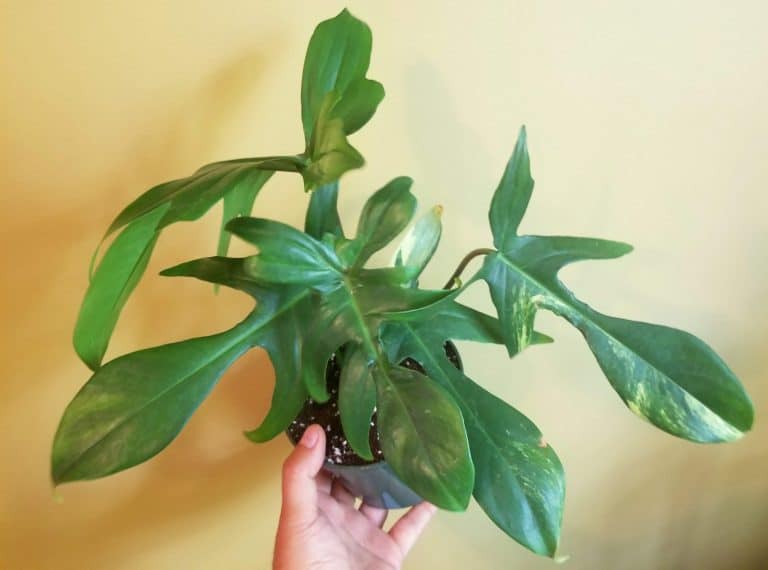
Peperomia is a great houseplant because it is low maintenance and it also helps to clean the air. It’s great to have them placed around your house, as they can clean the air in your home.
By propagating Peperomia, you can have more of this plant without having to buy.
Here are the topics that will be covered in this article:
- How Do You Propagate Peperomia
- Propagating Peperomia In Soil
- Peperomia Watermelon Propagation
- String Of Turtles Propagation
- Peperomia Obtusifolia Propagation
- Peperomia Polybotrya Propagation
- Peperomia Hope Propagation
- Peperomia Scandens Propagation
- Peperomia Rosso Propagation
- Peperomia Graveolens Propagation
- Can You Propagate Peperomia In Water?
- Peperomia Watermelon Propagation
- Peperomia Obtusifolia Propagation
- Peperomia Prostrata Propagation
- Peperomia Raindrop Propagation
- Peperomia Scandens Propagation
- Peperomia Hope Propagation
- What Is The Best Time To Propagate Cuttings?
- What Condition Is Best For The Newly Propagated Peperomia Plant
DISCLAIMER
Some of the links on here are affiliate links and I may earn if you click on them, AT NO EXTRA cost to you. Hope you find the information here useful! Thanks.
Related Articles:
- Peperomia Polybotrya: Comprehensive Care Guide
- All You Need to Know About Propagating Monstera
- Why Is My String Of Pearls Dying: How to Revive It and Ensure It Doesn’t Happen Again
- Scindapsus Treubii Moonlight: A Plant Lovers Care Guide
- Begonia Maculata Care: Best Essential Tips
- How To Preserve Willow Branches [2022 Guide]
Place your plant cuttings in propagation test tubes for them to sit and grow roots!

How Do You Propagate Peperomia?
You can begin propagating Peperomia using three ways:
- Cut Leaf method
- Stem Cutting method
- Water Method
Not all Peperomia species can apply all three methods, due to their characteristics and features.
Here are the items that you will need to propagate Peperomia.
- A healthy Peperomia plant
- A pair of sharp, clean, and sterilized scissors
- Soil / potting mixture
- Small pot
- Clear plastic bag
Propagating Peperomia in Soil
Watermelon Peperomia Propagation
- The Cut Leaf Method
This is the easiest Peperomia watermelon propagation method. Although the method takes quite some time and needs a little patience, you can get more than one plantlet from one leaf.
- Take a piece of healthy leaf and cut it in half. You need to cut it above the petiole.
- Take a container or pot filled with soil and place half the leaf in the soil. The part where you cut the leaf must be in the soil (half-buried) and not the other way around.
- Sprinkle a small amount of water and touch the soil to see if it is moist but not overwatered.
- Use a clear plastic bag to cover the container to create a warm and humid condition for the plant. If you see condensed water on the plastic bag, meaning the water is sufficient. Sprinkle some water every two weeks if needed.
- Then, place the container in a warm place and receive a moderate amount of indirect sunlight.
- In 2 to 4 weeks, you will start to see small roots and the first baby plant in about 3 to 5 weeks. You will notice the petiole part will sprout first and a few weeks later the top half leaf will follow.
- You can start to transfer the baby plants to regular pots once they are big enough (after 2 to 3 months). Be cautious when repotting the baby plants because you might damage the roots.
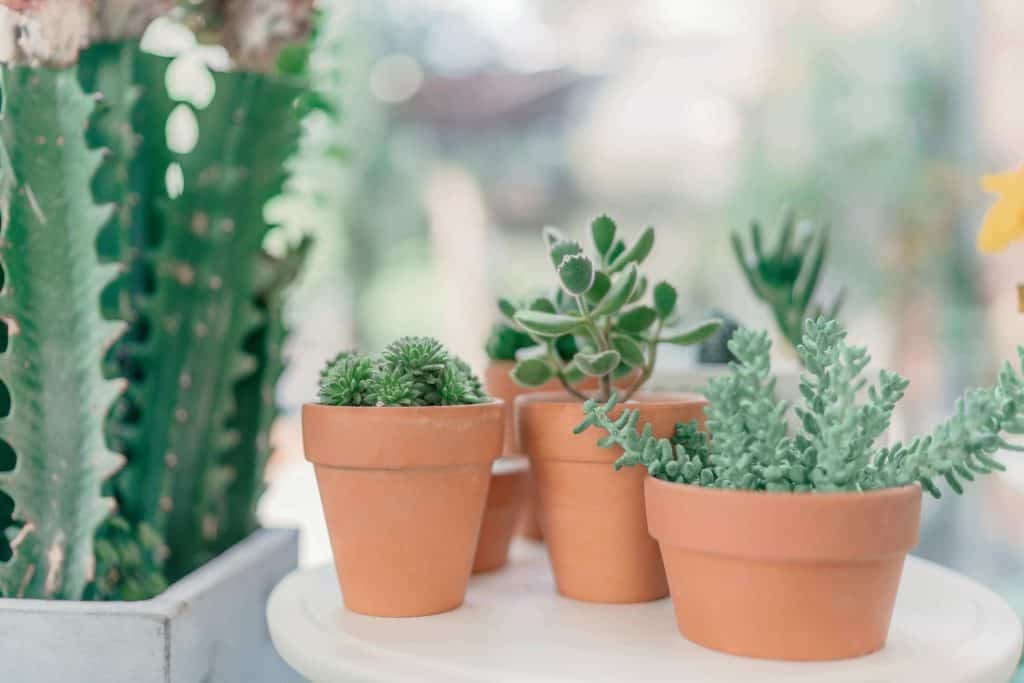
Use porous terracotta pots rather than plastic pots to ensure proper healthy root development!

- The Stem Cutting Method
- Use a pair of scissors, knife, or blade (it is better if the tool is sterilized) to trim a few healthy leaves from the mother plant. Cut it at the end of the stem.
- Then, cut the petiole until the length is 1 inch from the leaf.
- Take a pot filled with moist potting mix and stick the petioles in the moist soil. Make sure the pot’s size is suitable for the leaves because you don’t want to crowd the pot. If you use a 4” pot, you can only put 2 leaves.
- Place the pot in a plastic zip-top bag and only seal 75% of the bag. The bag will fog up naturally and you need to make sure the soil is always moist. So, check on the soil every 3-4 days to monitor the soil’s condition.

You can watch a tutorial made by Techplant to help you further.
String Of Turtles Propagation
This method is time-consuming as it needs a few months before you can see the new roots.
- Cut leaf method
- Take a few leaves with their petioles attached and bury the petioles into a damp potting mix.
- Then, place the pot in a place that is bright and get indirect light. You have to always monitor the soil condition to make sure it is moist for the new roots to develop.
- Stem cutting method
Propagation string of turtles using this method can be done in two ways. Hence, you will have a backup in case one of the methods fails.
Cutting method 1
- Snip off a cutting of 5 inches long.
- Remove some of the leaves 2 inches from the base of the cutting.
- Take a small pot filled with moistened soil and stick the base of the cutting into the medium. Some of the nodes need to be in the medium because that is where the new roots will come out.
- Then, place the pot in a place that is bright and get indirect light. You have to always monitor the soil condition to make sure it is moist for the new roots to develop.
Cutting method 2
- Snip off a cutting of 5 inches long.
- Take a small pot filled with moistened soil and place your cutting on top of the soil. You can coil the cutting. The node needs to be nestled into the soil. You don’t have to bury the node.
- Then, place the pot in a place that is bright and get indirect light. You have to always monitor the soil condition to make sure it is moist for the new roots to develop.
You can watch the tutorial by Jennie Moon Bloom to help you understand more.
Propagating Peperomia Obtusifolia
The right rooting mix for Baby rubber plant propagation is important.
A mix of half peat moss and perlite is the best as the mixture is affordable and can be bought from a nearby nursery.
This lightweight mixture works well when rooting other Peperomia plants too.
You can also use Organic Succulent Potting Soil Mix if you are not confident to mix it yourself.

- Cut leaf method
- Pick a healthy stem and cut it an inch below a mature leaf’s node.
- Cut a few leaves by cutting the leaf’s node.
- Take a small pot filled with moistened soil and place your cutting onto the soil. Make sure the nodes are buried in the soil.
- Then, place the pot in a place that is bright and get indirect light. You have to always monitor the soil condition to make sure it is moist for the new roots to develop.
- Stem cutting method
- Use the same stem cutting and cut the remaining leaves an inch above and below its node. Each stem will only have a leaf.
- Take a small pot filled with moistened soil and place your cutting onto the soil. The stem must be buried into the soil.
- Then, place the pot in a place that is bright and get indirect light. You have to always monitor the soil condition to make sure it is moist for the new roots to develop.
- You can also place a clear plastic bag over the entire pot to lock in humidity but leave some space to enable fresh air into it.
Propagation will take at least a few weeks to see the new growth as developing new roots takes some time.
You can check your cutting after 6 weeks. If you tug gently at the cutting and you feel some resistance, meaning a root system has been developed. Now, the cutting can be treated like any other normal plant.
You can watch the tutorial by Small Things with Moumita to help you understand more.
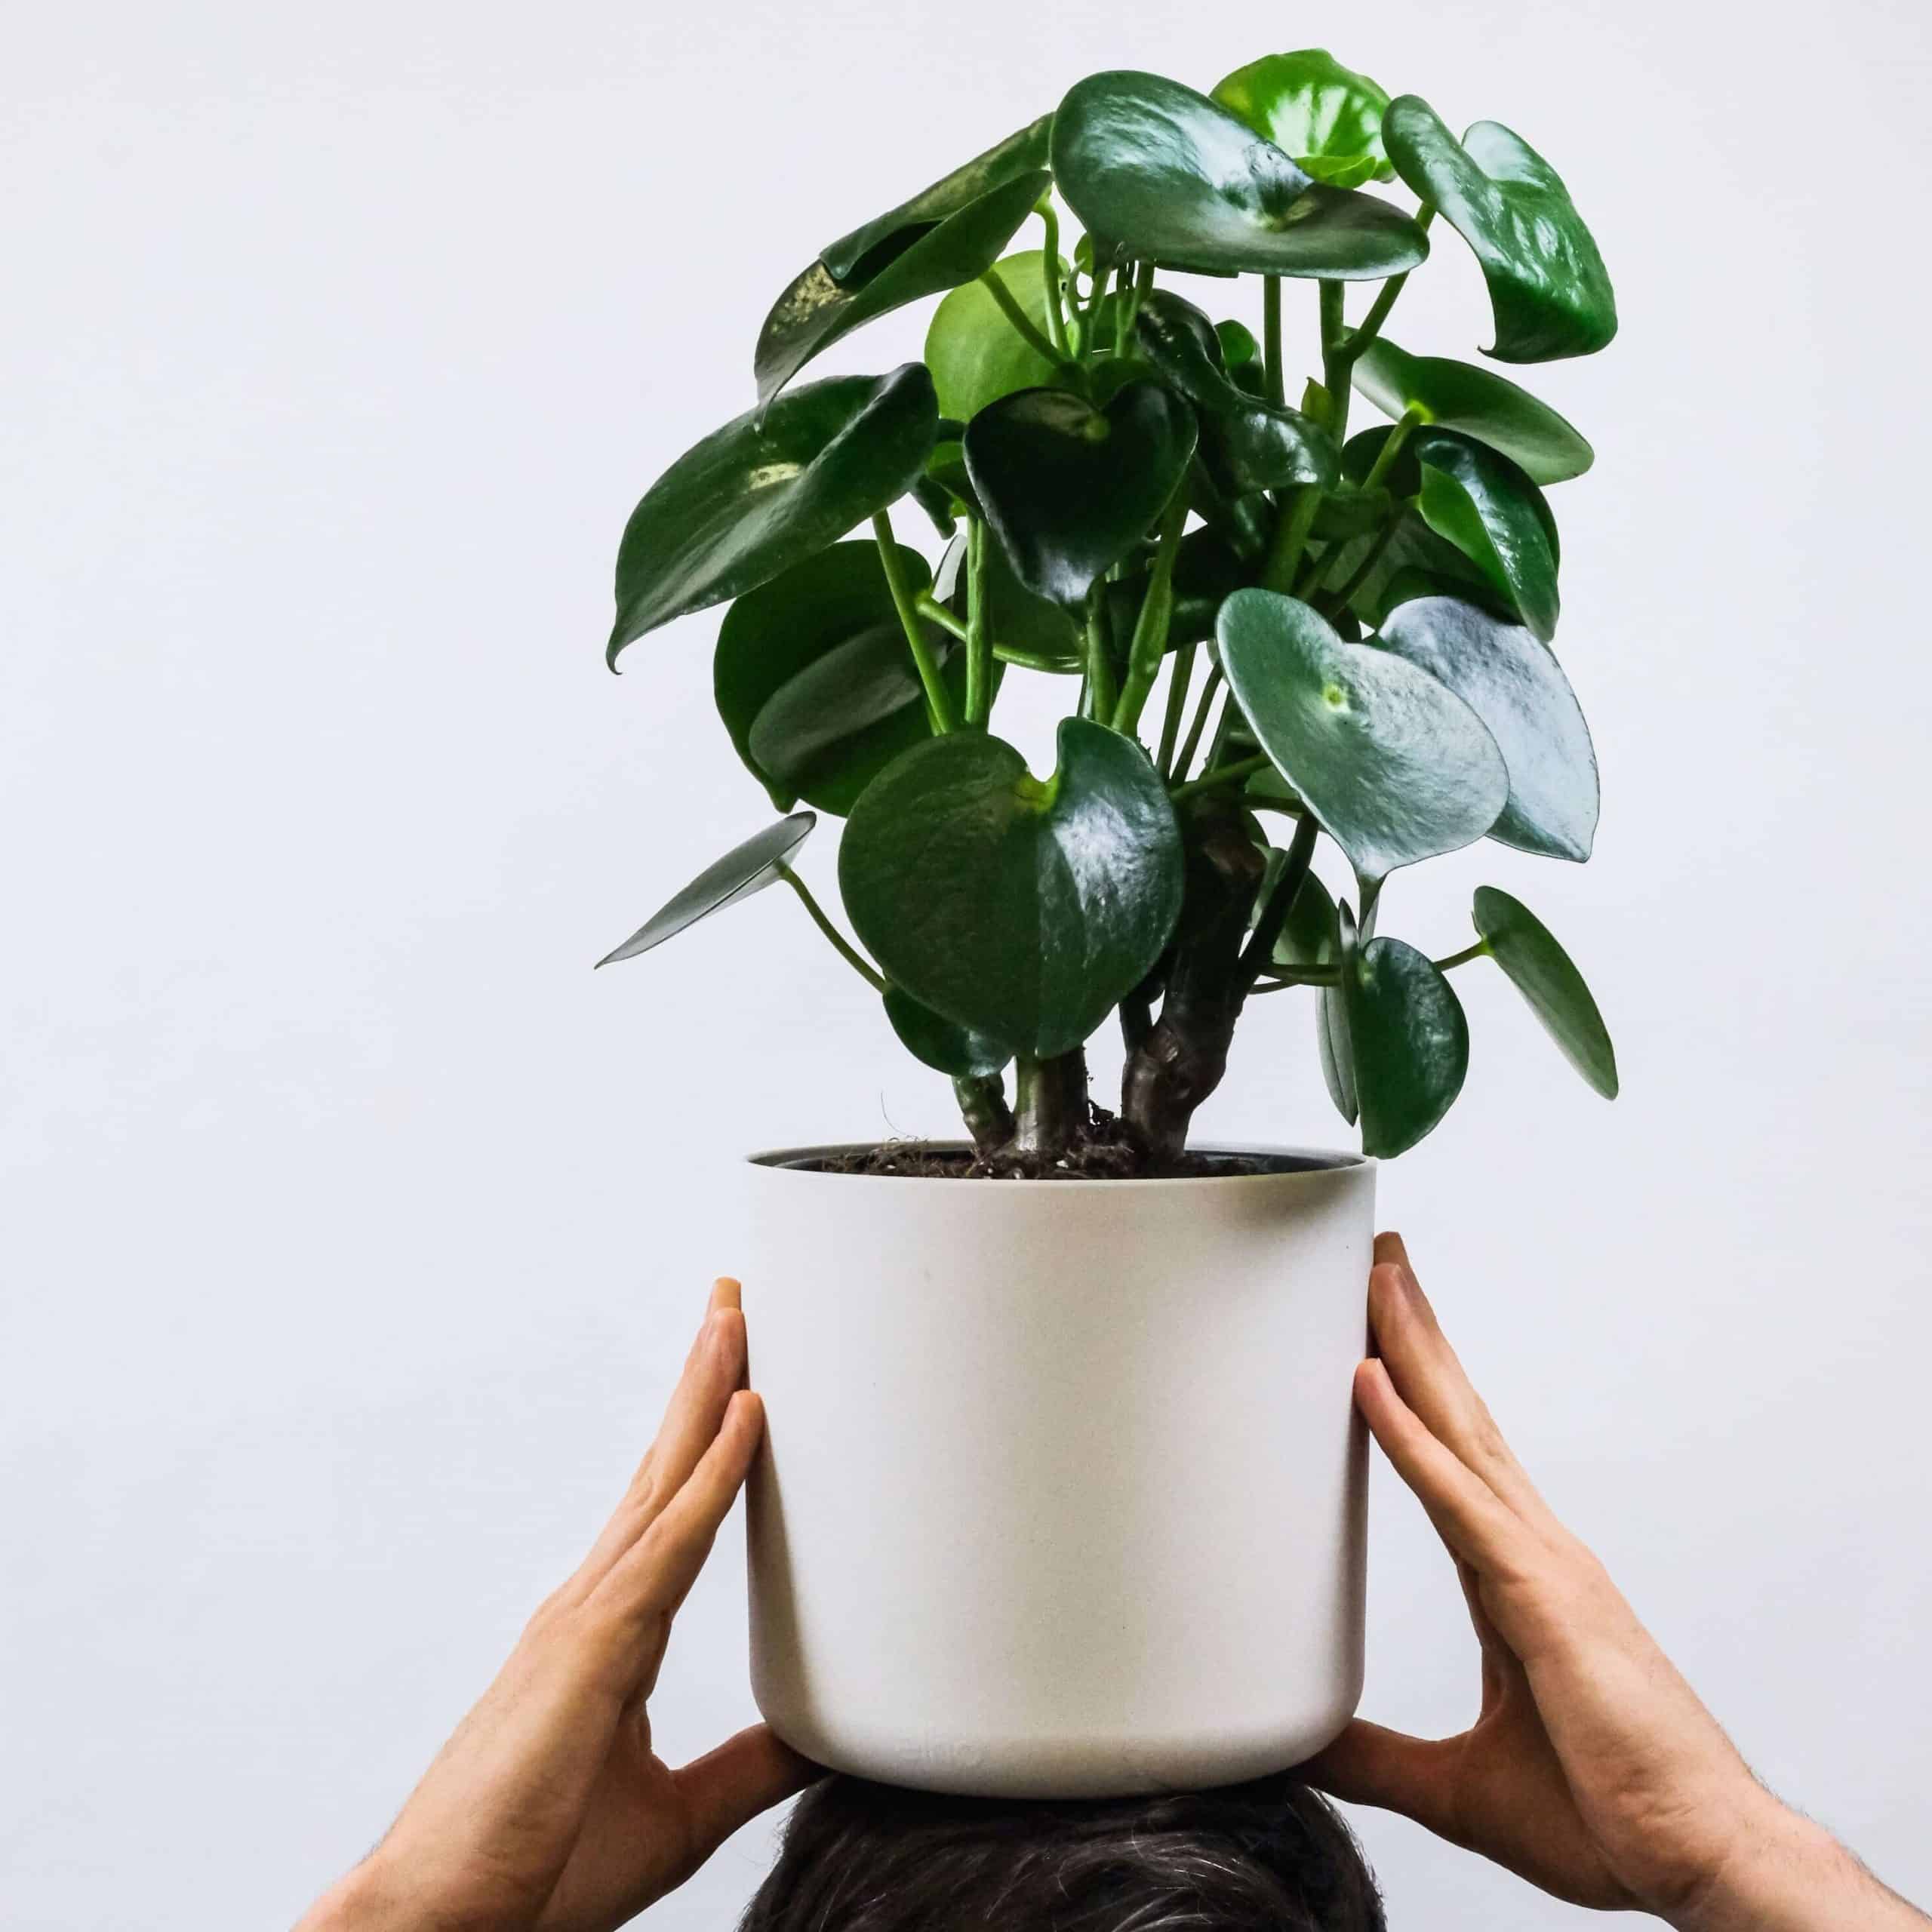
Peperomia Polybotrya Propagation
- Stem cutting method
- Pick a healthy stem and cut it 2 inches below a mature leaf’s node.
- Remove the bottom leaves from the stem cutting by cutting the leaf’s node.
- Take a small pot filled with moistened soil and place the stem into the soil.
- Then, place the pot in a place that is bright and get indirect light. You have to always monitor the soil condition to make sure it is moist for the new roots to develop.
Once you see the plant has developed its roots, you can transplant it to a permanent pot.
You can watch the tutorial by Johnson Engleng to help you understand more.
Peperomia Hope Propagation
- Cut leaf method
- Choose a few healthy-looking leaves and remove them from the stem. You need to make sure the petiole is attached to the leaf.
- Take a container or pot filled with moistened soil and stick the petioles into the pot.
- Then, place the pot in a place that is bright and get indirect light. You have to always monitor the soil condition to make sure it is moist for the new roots to develop.
This method is time-consuming so it may take a while for the new roots to appear.
Use a sterilized pruning/cutting knife to ensure a clean cut!

- Stem cutting method
- Pick a healthy stem and cut it 2 inches below a mature leaf’s node.
- Remove the bottom leaves from the stem cutting by cutting the leaf’s node.
- Take a small pot filled with moistened soil and stick the stem into the soil. It should be 1 inch deep into the medium. Make sure at least 1 node is buried in the soil.
- Then, place the pot in a place that is bright and get indirect light. You have to always monitor the soil condition to make sure it is moist for the new roots to develop.
Approximately 1 month later, you can check the cutting and if you see the new roots have developed, you can now treat it like a normal plant.
You can watch the tutorial by Michael John Halse Artistry to help you understand more.
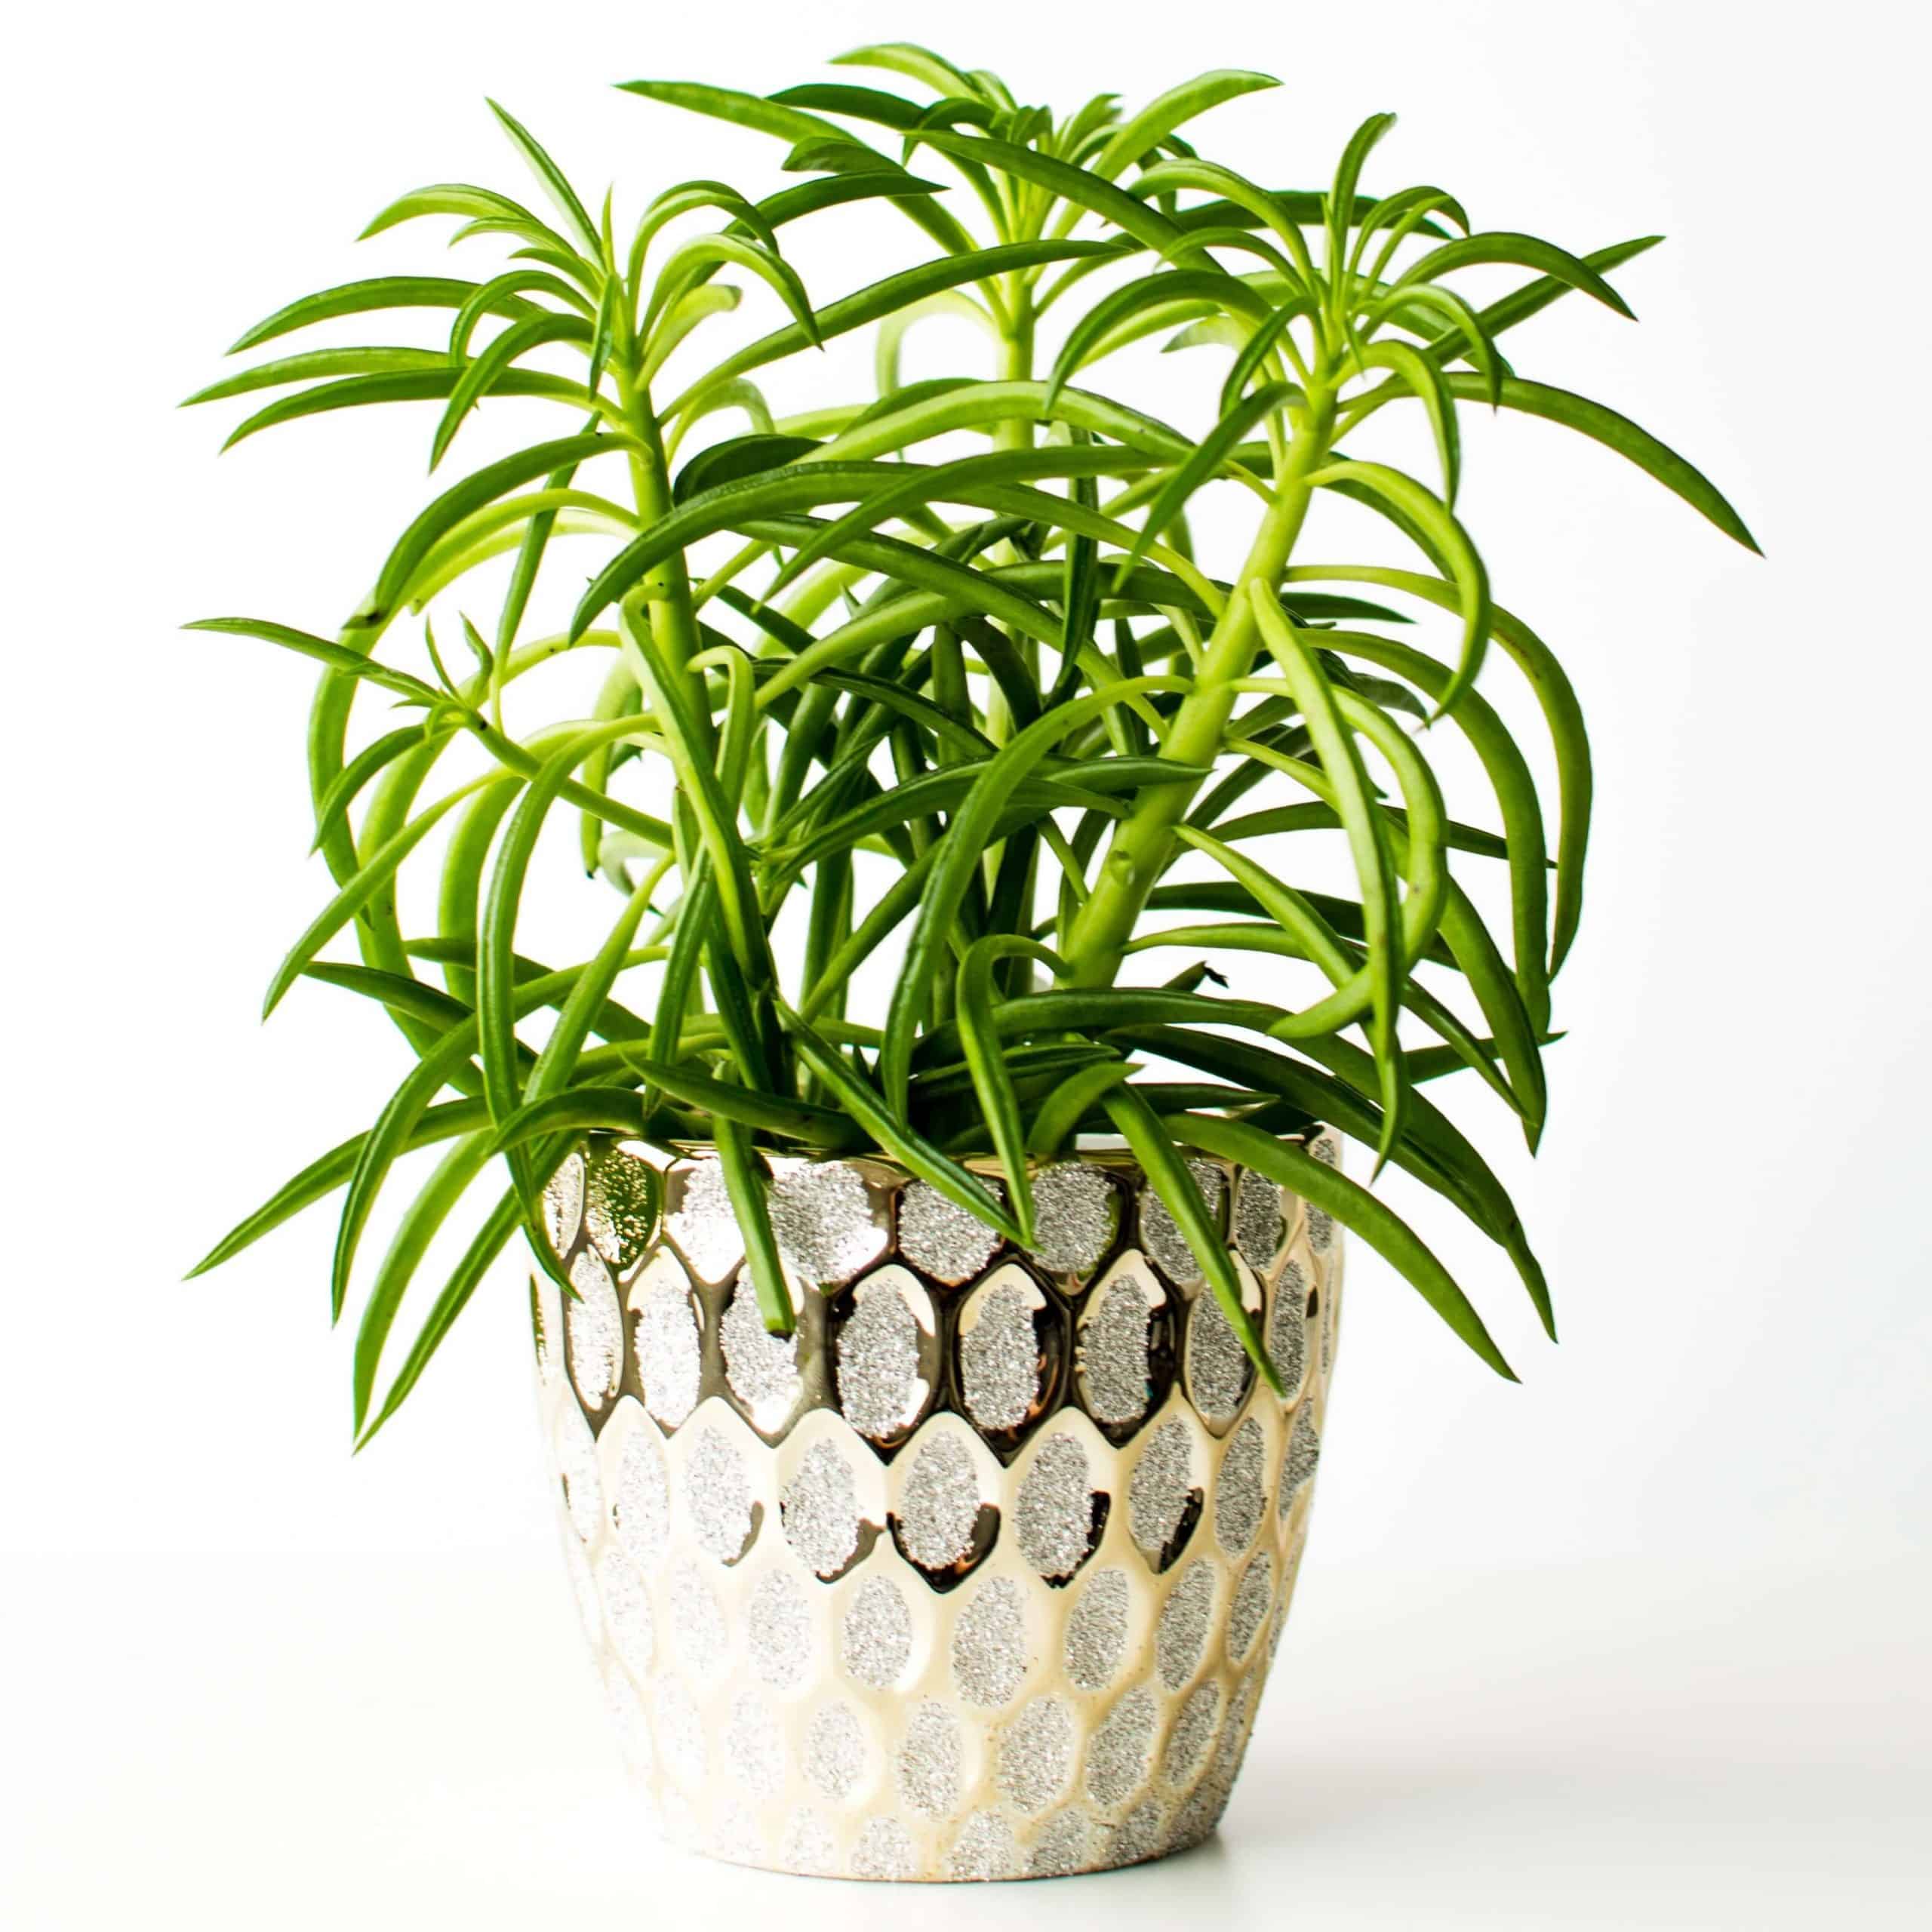
Peperomia Scandens Propagation
- Cut 3 inches from the tip shoot of a healthy stem. Make sure the cutting has a minimum of 2 pairs of leaves. Remove any leaves at the lower part of the cutting.
- Take a small pot filled with moistened soil and stick the stem into the soil. It should be 1 inch deep into the medium.
- Then, place the pot in a place that is bright and get indirect light. You have to always monitor the soil condition to make sure it is moist for the new roots to develop.
Once you see the plant has developed its roots, you can transplant it to a permanent pot.
You can watch the tutorial by Mark of the Jungle Plants to help you understand more.
Peperomia Rosso Propagation
- From a healthy Rosso plant, cut an approximate 5 to 7 inches stem.
- Remove the bottom leaves from the stem cutting
- Take a small pot filled with moistened soil and stick the stem into the soil.
- Then, place the pot in a place that is bright and get indirect light. You have to always monitor the soil condition to make sure it is moist for the new roots to develop.
After 3 to 4 weeks, you will see the new roots have developed and you can now treat them like other plants.
Peperomia Graveolens Propagation
- Cut a healthy stem 1 to 2 inches from a mature leaf’s node,
- Take a small pot filled with moistened soil and stick the stem into the soil.
- Then, place the pot in a place that is bright and get indirect light. You have to always monitor the soil condition to make sure it is moist for the new roots to develop.
After 2 to 3 weeks, the new root system will start to be visible. The growth will be quite slow but it is normal for this plant.
You can watch the tutorial by Quirky Lemon to help you understand more.
Can You Propagate Peperomia in Water?
Peperomia propagation in water is another method you can use if you want to try something different.
I like this method because you can see the progress of the roots.
However, not all Peperomia is suitable to propagate in water. Here are some Peperomia that are suitable if you prefer propagating peperomia in water.
Peperomia Watermelon Propagation
Watermelon peperomia water propagation is the least suggested way because the success rate is lower as compared to other methods but you can still try it if you like the challenge.
- Cut a healthy leaf but make sure you take the petiole too.
- Take a small container half-filled with water and place the cutting into it. The nodes need to be submerged.
- Place the jar somewhere bright but with no indirect sunlight. You will have to check on the water level from time to time and top it up if needed. It is better to change the water once a week to avoid filmy water which can disturb the growth of new roots.
You can watch a tutorial made by Techplant to help you.
Peperomia Obtusifolia Propagation
Peperomia obtusifolia propagation in water is preferable compared to in soil because you can see the development of the roots better if you use water. After all, everyone’s preference is different, you choose what suits your style.
- Leaf cut method
- Pick a healthy stem and cut it an inch below a mature leaf’s node.
- Remove the bottom leaves from the stem cutting by cutting the leaf’s node.
- Take a small container half-filled with water and place the cutting into it. The nodes need to be submerged.
- Place the jar somewhere bright but with no indirect sunlight. You will have to check on the water level from time to time and top it up if needed. It is better to change the water once a week to avoid filmy water which can disturb the growth of new roots.
- Stem cutting method
- Use the same stem cutting which now has a few leaves at the upper end. Take a jar filled with water and place the cutting into it. The node needs to be submerged.
- Place the jar somewhere bright but with no indirect sunlight. You will have to check on the water level from time to time and top it up if needed. It is better to change the water once a week to avoid filmy water which can disturb the growth of new roots.
In a week or two, you should start to see tiny roots developing but you have to wait until the roots are around 3 inches long before you can transfer them to a permanent pot.
You can watch the tutorial by Small Things with Moumita to help you understand more.
Peperomia Prostrata Propagation
- Snip off a few cuttings below the nodes.
- Take a jar filled with water and put the nodes into it. If you see the leaves submerged in the water, remove them.
- Place the jar somewhere bright but with no indirect sunlight. You will have to check on the water level from time to time and top it up if needed. It is better to change the water once a week to avoid grimy water which can disturb the growth of new roots.
The roots might take a few months to grow before you can transfer them into a pot with potting mix and care for it like other plants.
You can watch a tutorial made by Green Thumb-ish to help you further.
Peperomia Raindrop Propagation
- Pick a healthy stem and cut it 2 inches below a mature leaf’s node.
- Remove the bottom leaves from the stem cutting by cutting the leaf’s node.
- Take a small container half-filled with water and place the cutting into it. The stem needs to be submerged.
- Place the jar somewhere bright but with no indirect sunlight. You will have to check on the water level from time to time and top it up if needed. It is better to change the water once a week to avoid filmy water which can disturb the growth of new roots.
You can plant the cutting normally once you see the roots have developed and are around 3 inches long.
Peperomia Scandens Propagation
- Cut 3 inches from the tip shoot of a healthy stem. Make sure the cutting has a minimum of 2 pairs of leaves. Remove any leaves at the lower part of the cutting.
- Take a pot and submerged the cutting in the water. At least 2 nodes need to be in the water and the leaves are above water level.
- Place the jar somewhere bright but with no indirect sunlight. You will have to check on the water level from time to time and top it up if needed. It is better to change the water once a week to avoid filmy water which can disturb the growth of new roots.
In 2 to 6 weeks, the root will be visible at the leaf nodes and once the roots are a few inches long, you can replant it to their permanent pot.
Peperomia Hope Propagation
- Pick a healthy stem and cut it 1 inch below a mature leaf’s node. Make sure the cutting has a minimum of 2 pairs of leaves.
- Remove the bottom leaves from the stem cutting by cutting the leaf’s node.
- Take a small container half-filled with water and place the cutting into it. The stem needs to be submerged. At least 2 nodes need to be in the water and the leaves are above water level.
- Place the jar somewhere bright but with no indirect sunlight. You will have to check on the water level from time to time and top it up if needed. It is better to change the water once a week to avoid filmy water which can disturb the growth of new roots.
When you see the roots develop until 2 to 3 inches long, you can transfer your cutting into a pot with a potting mix and care for the plant-like usual.
What Is the Best Time to Propagate Cuttings?
Springtime is the best time to propagate cuttings. This season is just before the growing season starts. The rooting of Peperomia goes faster in the warmer months.
Autumn also would be a good time to take cuttings and root them.
Rooting is faster in the warmer months.
You have to bring outdoor Peperomia plants inside during winter. This plant cannot withstand extreme cold weather.
What Condition Is Best for a Newly Propagated Peperomia Plant?
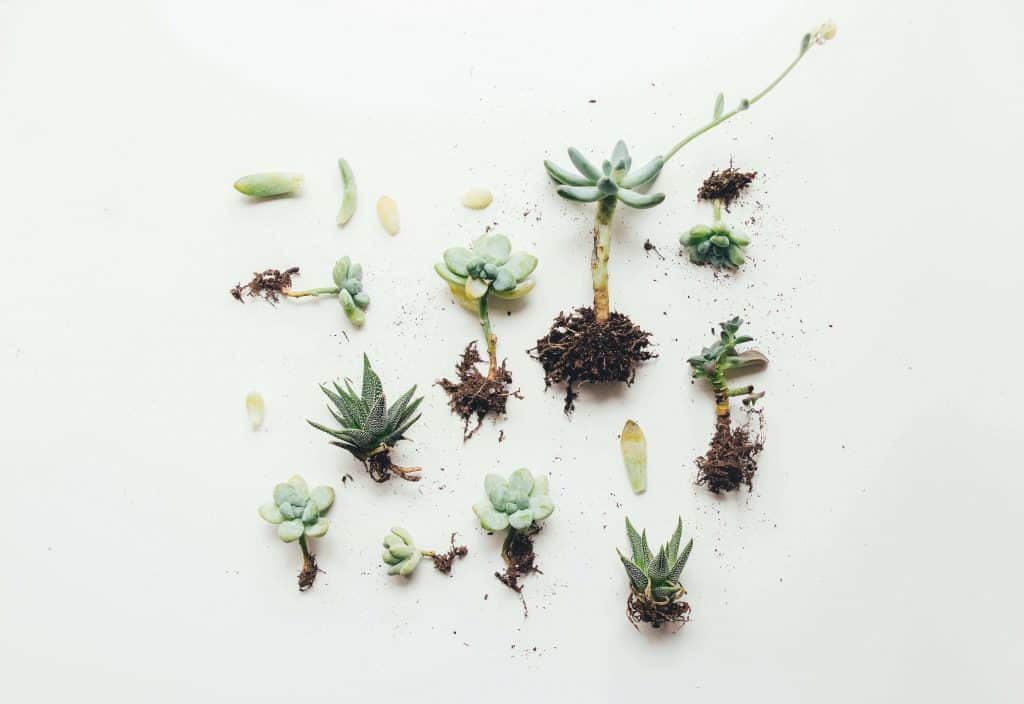
The last step after Peperomia propagating in water or soil is repotting the plantlets to their permanent pot, you can follow the step below to repot the plantlets.
Repotting the plantlets
- Take the preferred pot and half fill it with a soil mixture that is suitable for peperomia plants.
- Carefully take out the leaf from the soil (or water). Don’t remove the soil that is tugged with the roots.
- Then, put the plantlet with some soil at the roots into the pot and fill the pot with more soil.
- Lastly, water it if necessary.
Repotting the plantlets (Stem Cutting Method)
- Take the preferred pot and half fill it with a soil mixture that is suitable for peperomia plants.
- Carefully take out the leaf from the soil. Don’t remove the soil that is tugged with the roots.
- We need to separate the leaf and the plantlets. The petiole leaf needs to be cut but the other half leaf can easily be removed.
- Then, put the plantlet with some soil at the roots into the pot and fill the pot with more soil.
- Lastly, water it if necessary.
Light
This plant can grow in low-light conditions but if you can find a bright place and get indirect sunlight, it is even better. It is because the plant needs medium to bright light to keep its vibrant foliage colours.
Placing them by east or west-facing window sill is perfect for your plants for most of the year.
If your location cannot provide 12 to 16 hours of light, you can use artificial light as a substitution to fulfil their light needs.
The plant tends to become leggy if they get insufficient light. You can just prune it to retain the compact appearance as it will stretch towards the available light.
Or you can move the plant which has better light exposure.
Humidity
Peperomia is known for requiring high humidity levels but not for the majority of varieties.
Plenty of Peperomia acquires succulent characteristics to their leaves so they are able to tolerate low levels of humidity and occasional watering. This makes them an ideal indoor houseplant, as most of the humidity levels in the indoor space’s are relatively low.
However, each variety of Peperomia plants has different humidity needs and you can see it by looking at their leaves.
If the leaves appear thicker and more succulent, the humidity level it can tolerate will be lower.
Temperature
Peperomia is a tropical plant. They prefer warm and steamy weather as their growth will be at its peak during the summer season.
This succulent plant’s ideal temperature is 65°F to 80°F (18-26°C). In winter, try to provide an artificial source of heat for them to get their ideal temperature.
Water
The main problem when you keep this plant is you tend to overwater it although it is intentional. You might think you do not water it enough.
How to know you are overwatering it? The leaves will start to turn yellowish, the stalks will rot and wilt.
Overwatering can kill the plant. So you have to make sure the soil is moist but in between watering, allow the surface of the soil to dry out.
If you don’t have an idea on what the recommended gap between watering is, you can still water your plant every 7 to 10 days.
As Peperomia is very adaptable, you just have to plant them in a well-drained standard houseplant mix and they typically do well in a terracotta clay pot as it allows moisture to wick away more easily and can prevent waterlogged roots.
Get this set of 3 Terracotta Planter Pots and give your succulents a strong and pretty home!

Conclusion
Adding more greens into your home brings more benefit and joy to yourself plus if the plant needs low maintenance.
Propagating Peperomia is easy especially when you follow the steps well.
Now, it is time for you to try it yourself and hope your propagation turns out well!
![Why Is My Venus Fly Trap Turning Black?[And How To Fix It]](https://aboveandbeyondgardening.com/wp-content/uploads/2021/10/Why-Is-My-Venus-Fly-Trap-Turning-Black-768x512.jpg)
![How To Trim Basil Plant Without Killing It & What To Avoid! [2023]](https://aboveandbeyondgardening.com/wp-content/uploads/2022/10/how-to-trim-basil-plant-without-killing-it-768x513.jpg)