Growing Kale Indoors: Top Tips For 2023
Want to start growing kale indoors but don’t know how to?
Kale is one of the most nutritious and easy-to-grow vegetables. It is also one of the most popular in the market, making it a good choice for your garden.
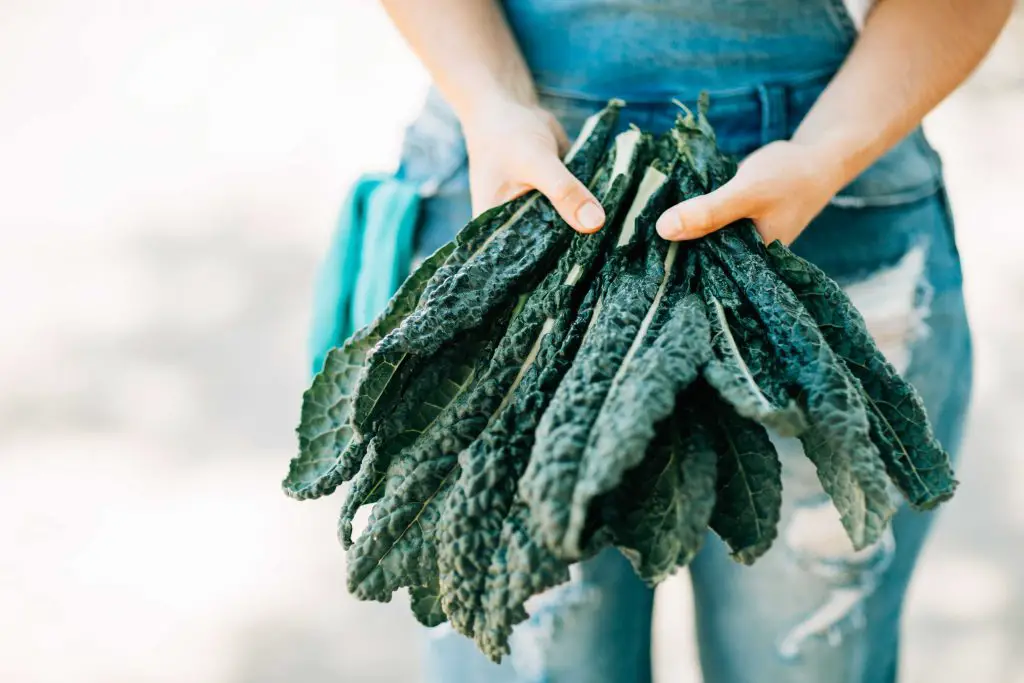
Kale plants have large leaves which may be round or crinkled, depending on the variety. The leaves can be easily thinned and harvested as soon as your plants begin to grow.
Kale is a great option if you want to grow a leafy vegetable that is easy to maintain. And if you live in a small apartment like me, growing kale indoors is a very viable and easy method to go with!
So let’s read on to see how we can be growing kale indoors!
At A Glance: Growing Kale Indoors
Step 1: Germinating The Seeds
Step 2: Replanting Seedlings
Step 3: Taking Care Of The Seeds
Step 4: Transplanting Your Kale
Step 5: Taking Care Of Your Kale Plant
Step 5: Harvesting Indoor Kale
k Disclosure
Some of the links on here are affiliate links, and I may earn if you click on them, AT NO EXTRA cost to you. I hope you find the information here helpful! Thanks.
Related Posts
- 13 Best Kale Smoothies For Weight Loss You Have To Try!
- How To Harvest Kale Without Killing The Plant [What to Avoid!] 2023
- What Not To Plant With Kale: An Easy Guide 2023
- Growing Kale Indoors Hydroponically: A Step By Step Guide [2023]
Step 1: Germinating The Seeds
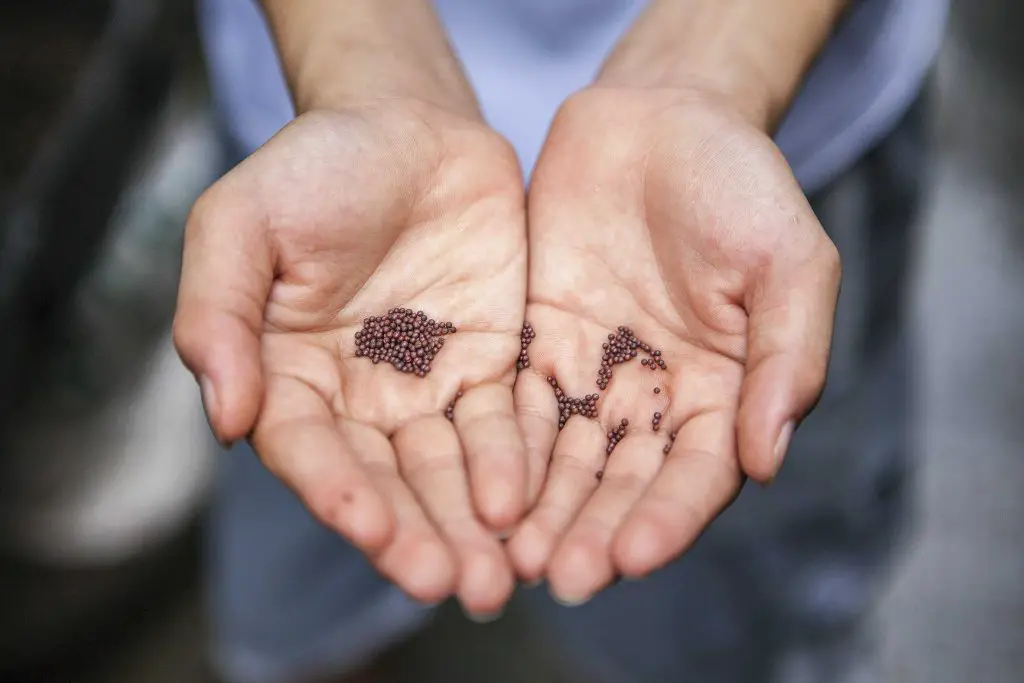
- Start your indoor kale plant by germinating the seeds about 6 weeks before your last expected frost date. Mix them in a seed-starting mix.
Step 2: Plant The Kale Seeds
- Sprinkle 2 to 3 kale seeds in each of your containers. If you want to put them in a big container, sow them about 4 inches apart to give them space.
- Sprinkle a thin layer of soil until they’re 0.5 inches deep.
- Sprinkle enough water to keep your seeds wet without overflowing them.
Pro-Tip: Don’t sow all your seeds at once so that you can have your kale at different times.
Step 3: Taking Care Of The Seeds
- Keep your kale in a warm place.
- Water them whenever you see the soil dry, kale needs moist soil for the roots to grow easily.
Step 4: Replanting Seedlings
- Prepare pots/ containers for your kale that are at least 30cm wide and deep. They can be made of any material as long as they have drainage holes at the bottom.
- Fill the containers/ pots with growing mix or soil until they’re about ¾ way full.
- Using your fingers, gently loosen the growing mix around each plant. Take care not to damage the roots.
- Dig a hole in each pot that is about the length and width of the seedling’s roots.
- Plant each kale seeding as deep as its roots by gently inserting the plant into the growing medium.
- Fill the space around the roots with a growing mix.
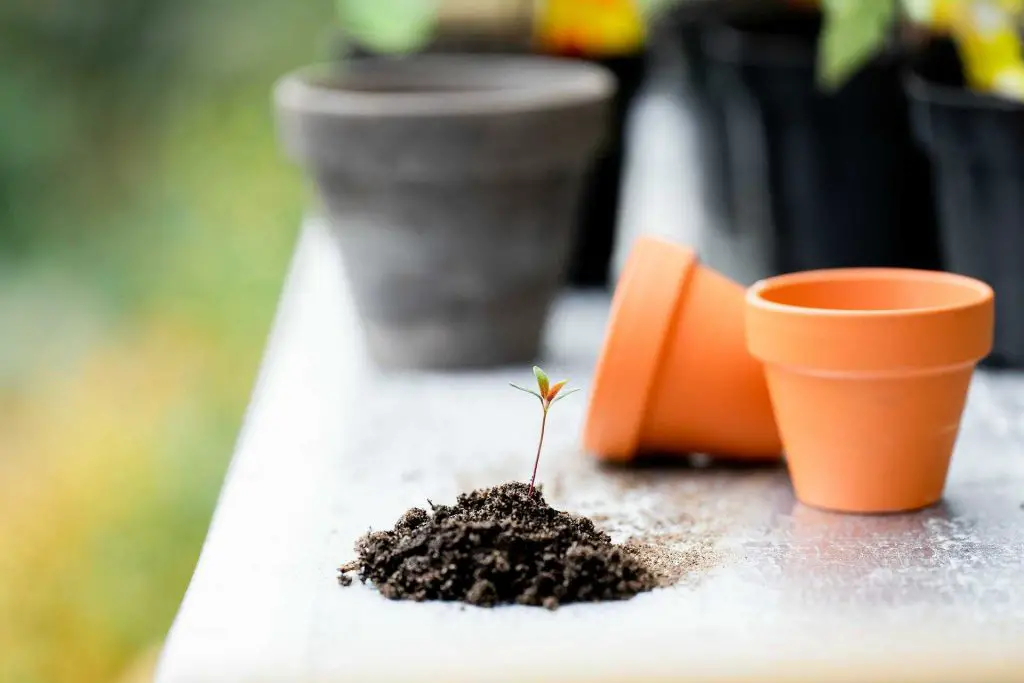
Image by Ylanite Koppens
Pro-Tips:
1. Tip the seed tray sideways or if your tray is made of flexible plastic, push in the bottom of the container to release the seedling easier.
2. If you choose to plant multiple plants in one pot, set them apart by about 30cm in diameter to give them room to grow.
Step 5: Taking Care Of Your Kale Plant
- Pick a spot that gives your indoor kale plant about 8 hours of sunlight. Alternatively, use a grow light.
- Water the plant just enough to moisten the soil. If you see water pooling, you’ve overwatered it.
Step 6: Harvesting Indoor Kale
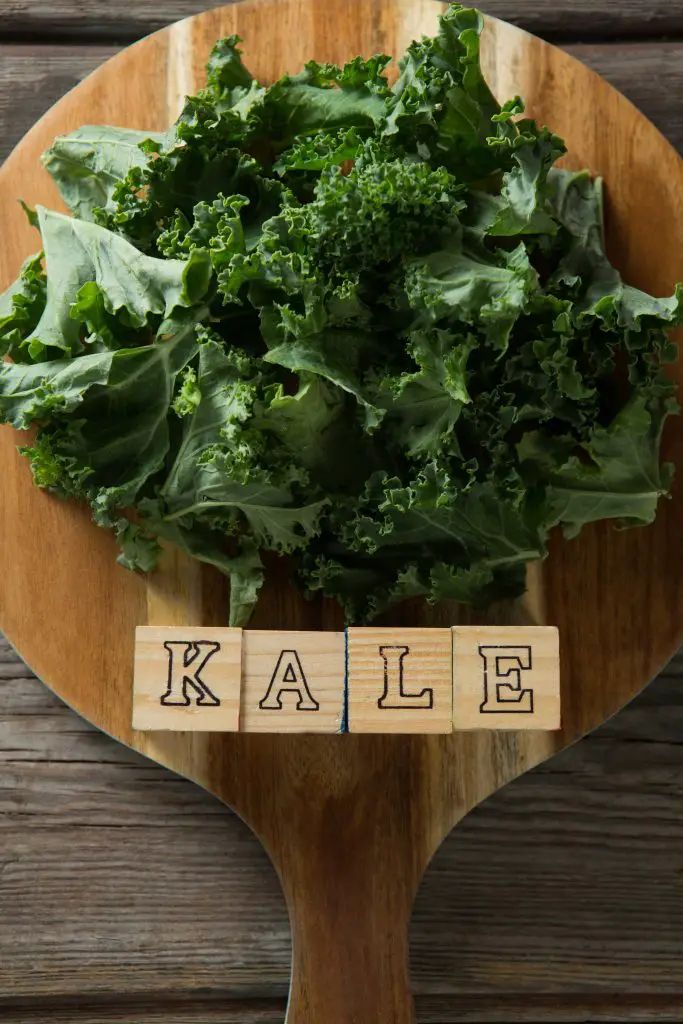
Kale is ready to harvest when they’re about as big as your palms. They usually mature in about 30–40 days if you transplanted them. If you didn’t, you will need to wait about 55-60 days.
To harvest your kale:
- Start with the oldest and lowest leave.
- Pick the ones near the base of the plant.
- Do not harvest the new ones or the ones in the middle.
Choosing A Variety
Although you may technically grow any kale inside, a dwarf variety may be the best option.
Dwarf kinds, like Dwarf Blue Curled, often only reach heights and widths of 1 foot.
If your space is small or limited, choosing a type of kale that won’t grow huge will cut half your stress of starting kale indoors.
Some types of kale can reach heights over 3 feet and widths over 2 feet.
That size might be troublesome. Especially in a small room or when you have pets running around, that will be all too interested in your new plant!
Those ruffled leaves are cute to look at as well. They make quite a decor piece if I say so myself 🙂
Of course, if you like, just experiment with different kale types as you start growing kale from seed indoors. If you pay attention, you will taste the subtle difference in taste between each type.
Choosing A Location
Kale needs up to 8 hours of sunlight each day. You should find an area within your home that will provide your indoor kale plant with a good amount of natural light.
A south-facing window ledge is frequently the best place for indoor vegetable gardening, particularly in the winter.
If you don’t have such an area within your house, you might have to consider getting an artificial light source. Plus point is that you can then place your kale anywhere in your home.

Indoor Kale Soil, Water, And Other Needs
You need to consider a couple of things when growing kale inside. Let’s delve into the essential things to consider for your indoor kale garden:
Soil And Fertilizer
Kale grows well in good potting soil with a lot of organic matter. Potting soil must have good drainage and a normal pH range of 6.0 to 7.9.
Your indoor kale plants need access to a lot of nitrogen because you’ll pick the leaves, regardless of your growing medium.
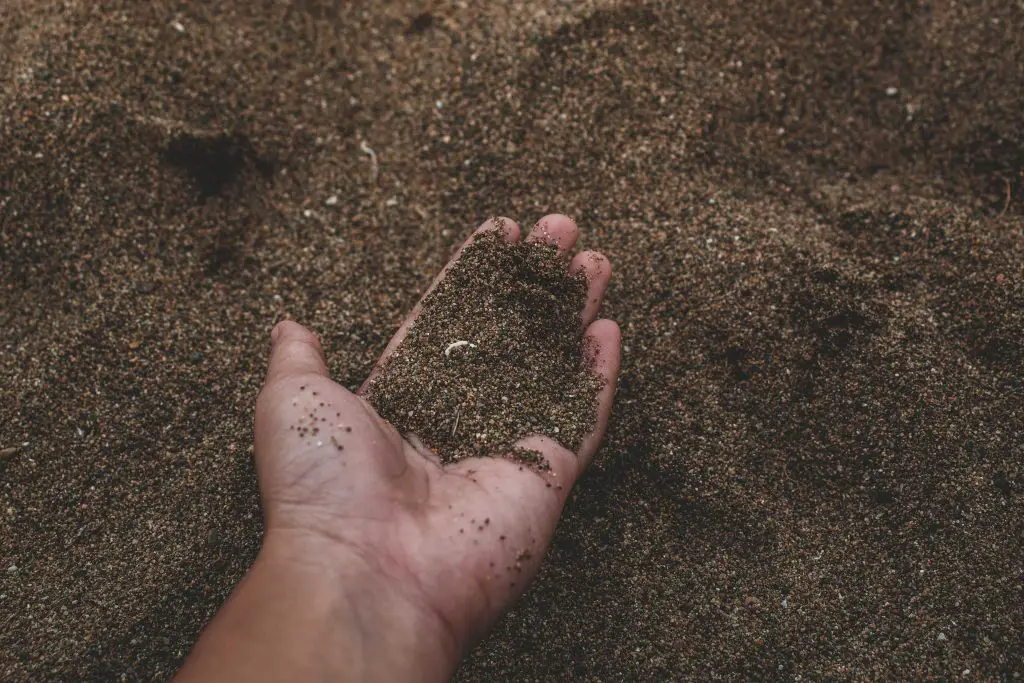
A balanced fertilizer is best for growing kale. Look out for 10-10-10 fertilizer – meaning it has 10% nitrogen, 10% potassium, and 10% phosphate.
Do not use ordinary garden soil as you don’t know the quality of this soil. They can be malnourished or have diseases to which your kale will be vulnerable.
Finally, the soil must always be kept moist and should never completely dry out.
Your plant will benefit from the proper amount of fertilizer once it has become established.
Throughout the season, use organic fertilizers such as fish emulsion, worm castings, or aged compost every 6 to 7 weeks. Keep in mind to only apply a thin layer.
Water
For kale to produce sweet and crisp leaves, it requires regular watering and wet soil. The leaves will be hard and bitter if the soil dries up.
Make sure your soil is consistently moist but not too much. Each week, aim for about 1.5 inches of water.
So that you don’t damage the roots, water your kale plants from the base and stop if the water begins to overflow. You shouldn’t see any water in the pot, but the soil should be obviously moist.
You’re probably overwatering your kale if you notice the leaves beginning to yellow.
Temperature
For sweet-tasting kale, keep them in a cool environment.
While kale can germinate at any temperature between 45°F and 85°F, the ideal temperature for growing kale indoors is 60 and 65°F.
If you live somewhere warm (above 70°F), provide some shade and enough water.
If you grow kale indoors winter time, remember to protect your kale indoors from extreme cold, or you risk damaging it.
Get a good outdoor digital thermometer so that you will always know the exact temperature and can make sure your babies are well and healthy. If you don’t want to worry about batteries running out, a manual outdoor thermometer will do the same job for you.
Light
Plants obtain energy from light via a process known as photosynthesis. They use chlorophyll in their leaves to absorb light energy during this process.
As I’ve mentioned earlier, kale needs about 8 hours of sunlight to grow healthily. It may also grow in partial shade for 4 to 6 hours daily.
When planting kale indoors, another way you can get enough light is to get a grow light.
What are grow lights, you ask? Simply put, they are electric lights that aid in the growth of plants.
Some are designed to emit a light spectrum similar to that of the sun. Others provide a light spectrum tailored to the plants in your greenhouse. These are typically a variable blend of red and blue light that appears pink to purple to the human eye.
You can use grow lights to boost natural light for your plants during the day. Generally speaking, your grow light should be around 6 inches above the top of the plant, but if you notice any searing on the leaves, take it further away.
There are 4 types of common grow lights, which are:
Fluorescent lights are great for plants that don’t need a lot of light. They are easier to use, though, and make a great secondary light option.
2. High-pressure sodium lights
High-pressure sodium lamps emit powerful, bright light that contains most of the oranges and reds within the color spectrum.
One disadvantage is that they become extremely heated, so If you use this kind of grow lights, you must keep your greenhouse well-aired and maintain the total temperature within.
LED lights are great because they are mercury-free, which makes them environmentally friendly. To add to that, they emit the same power as fluorescent light while using half the energy and lasting 5 times longer.
Metal halide lights give off a power that is most similar to that of the sun. They work on all types of plants and typically lasts for up to 20,000 hours! Like high-pressure sodium lamps, they get incredibly hot, so you need to be careful moving around near them.
FAQs on Growing Kale Indoors
Can Kale Be Grown Indoors?
So, can kale be grown indoors? You can still plant kale seeds indoors, even without a grow light. You just need to find a spot with the most sun, perhaps a windowsill or shelf. Trays with a humidity dome will come in handy for germination and consistent moisture. But you also can plant seeds in a regular pot.
When Should I Start Growing Kale Indoors?
When should I start growing kale indoors? You should start growing kale indoors about six weeks before your last expected frost date. Start in a seed-starting mix. Kale seeds germinate fast in warm soil. They should sprout up in 5 to 8 days. Keep the seeds covered with about ½ inch of soil and the growing medium moist.
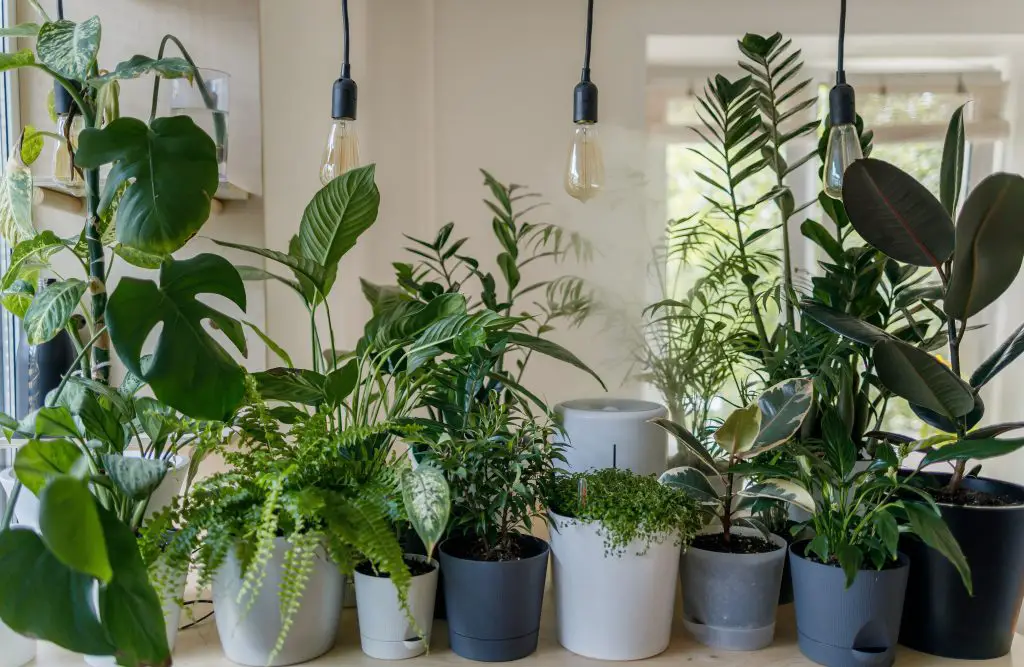
Can I Grow Curly Kale Indoors?
Yes, you can grow kale indoors. Kale plants grow great in moist soil conditions.
How Often Do You Water Indoor Kale?
How often do you water indoor kale? You should water indoor kale every 2 to 3 days depending on factors like the amount of sunlight your kale receives, the quality of the soil, and the size of the point. A general rule, water your plant when the soil feels dry. In hot, dry weather, you may need to water every day.
Time To Start Growing
Growing kale indoors is a terrific way to get fresh greens year-round. Kale is a hearty plant that can withstand cold temperatures and grow in low-light conditions.
Growing kale indoors is not difficult, as long as you stick to the guide I’ve written. I hope you’ve learned how you can grow your own fresh and healthy kale at home.
Quick recap, when growing kale indoors, you will need to check on your plants regularly as they grow. Whether you are growing kale in containers indoors, or growing kale in pots indoors, or even growing them hydroponically, they need your constant attention.
And kale doesn’t like high humidity and needs a nice, even water supply.
If I can keep my kale alive, so can you – so get started now!


![How To Trim Basil Plant Without Killing It & What To Avoid! [2023]](https://aboveandbeyondgardening.com/wp-content/uploads/2022/10/how-to-trim-basil-plant-without-killing-it-768x513.jpg)
